Logseq is a free open source notetaking tool that makes it easy to share your notes online. I’ll show you how to get set up quickly.
Here’s what we’ll cover:
- Download Logseq
- Start taking notes in your daily notes
- Create pages using backlinks (surrounded with double square brackets like
[[backlink]]) - Make a few pages public
- Share your pages with the world
I’ll use Netlify as the hosting example because it’s free and easy to get started. Logseq generates a site that works with many hosting providers, so you can switch later if you want. I recommend getting something basic online first, then exploring other options.
Download Logseq
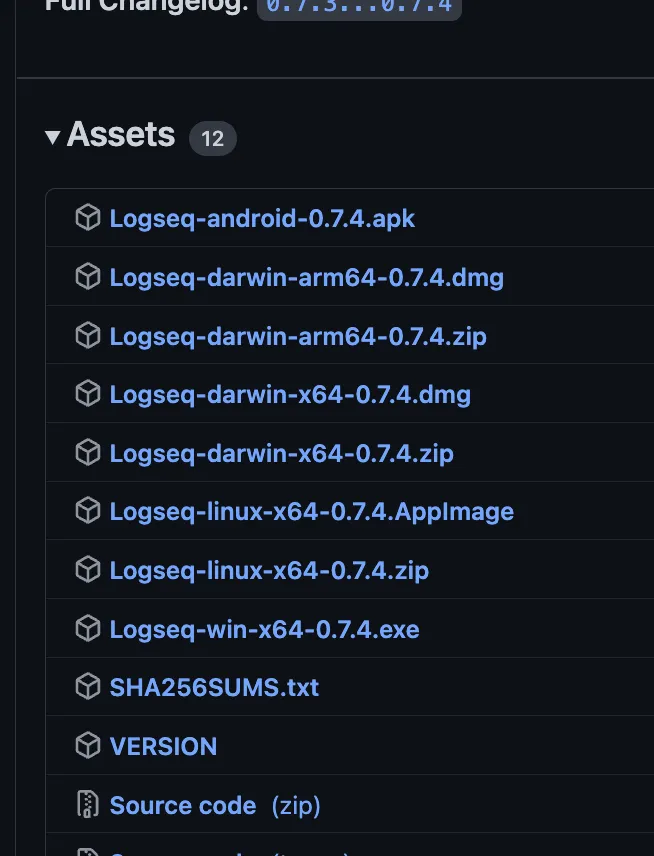
Download Logseq from the releases page on GitHub.
Find the release tagged “Latest” (not “Pre-release”) and pick the right version for your system: darwin-arm for M1/M2 Mac, darwin-x64 for Intel Mac, or the Windows version.
Set up Logseq
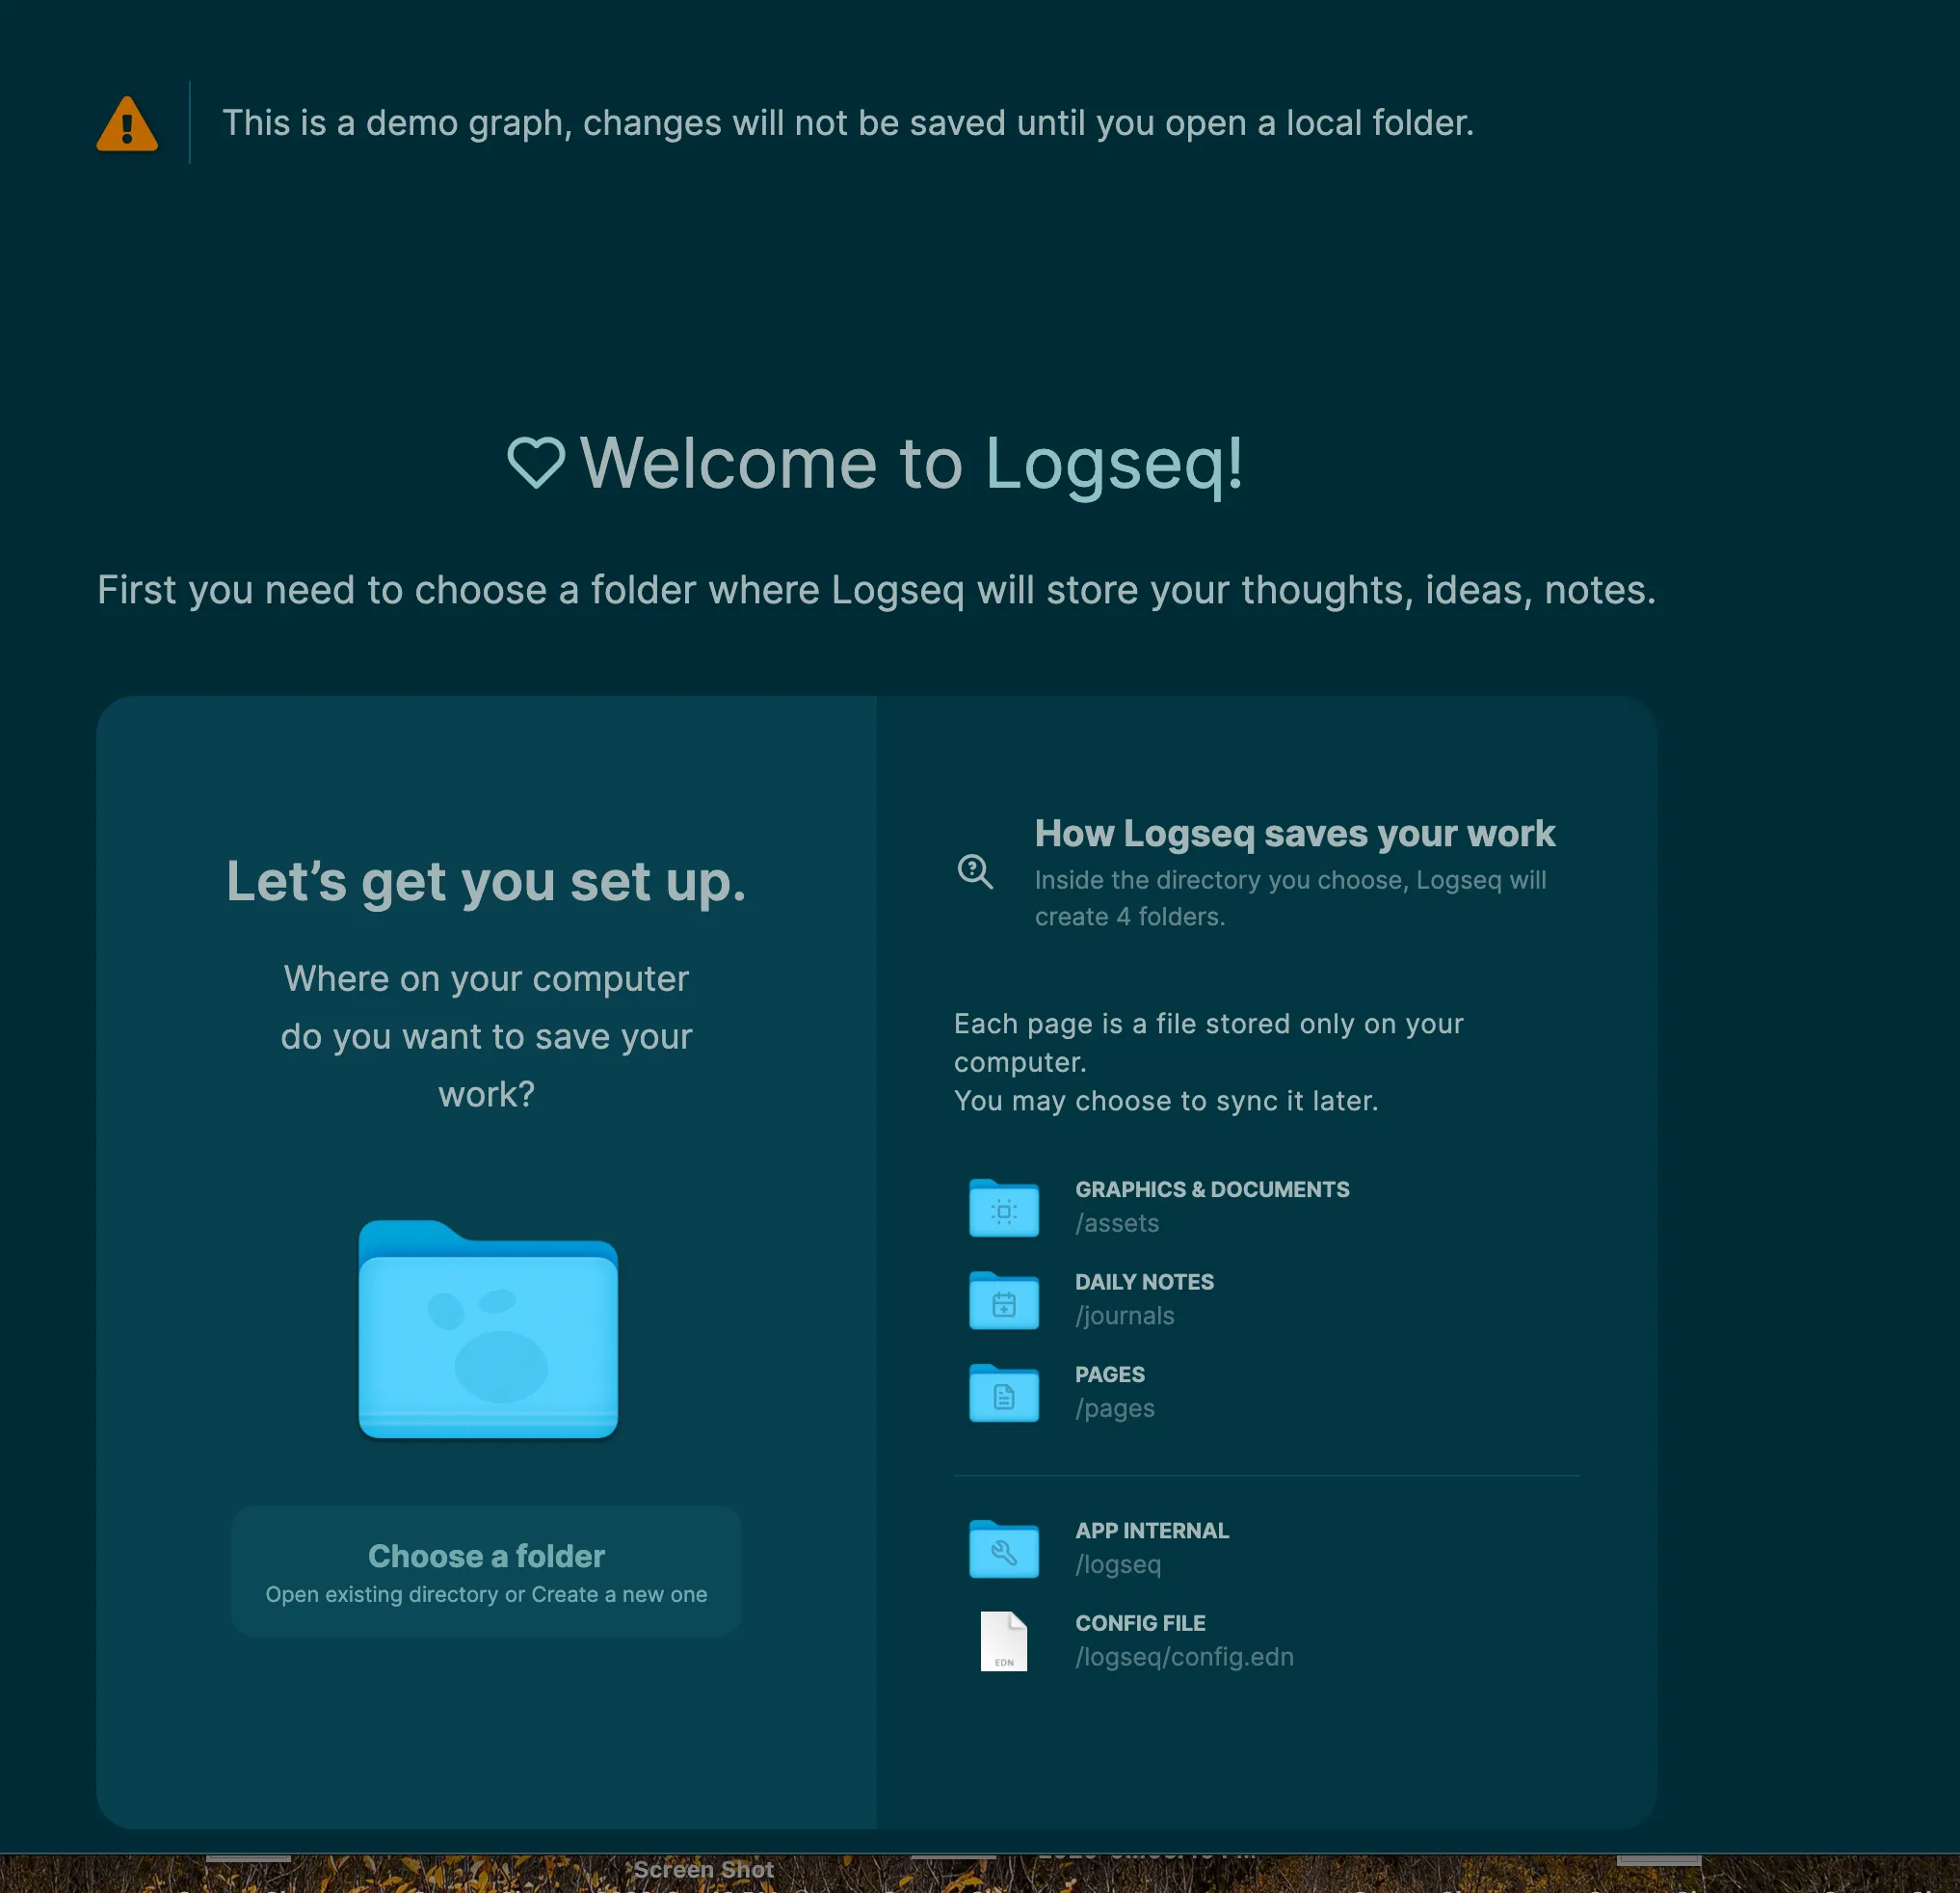
After installing and opening Logseq, you’ll see this page:
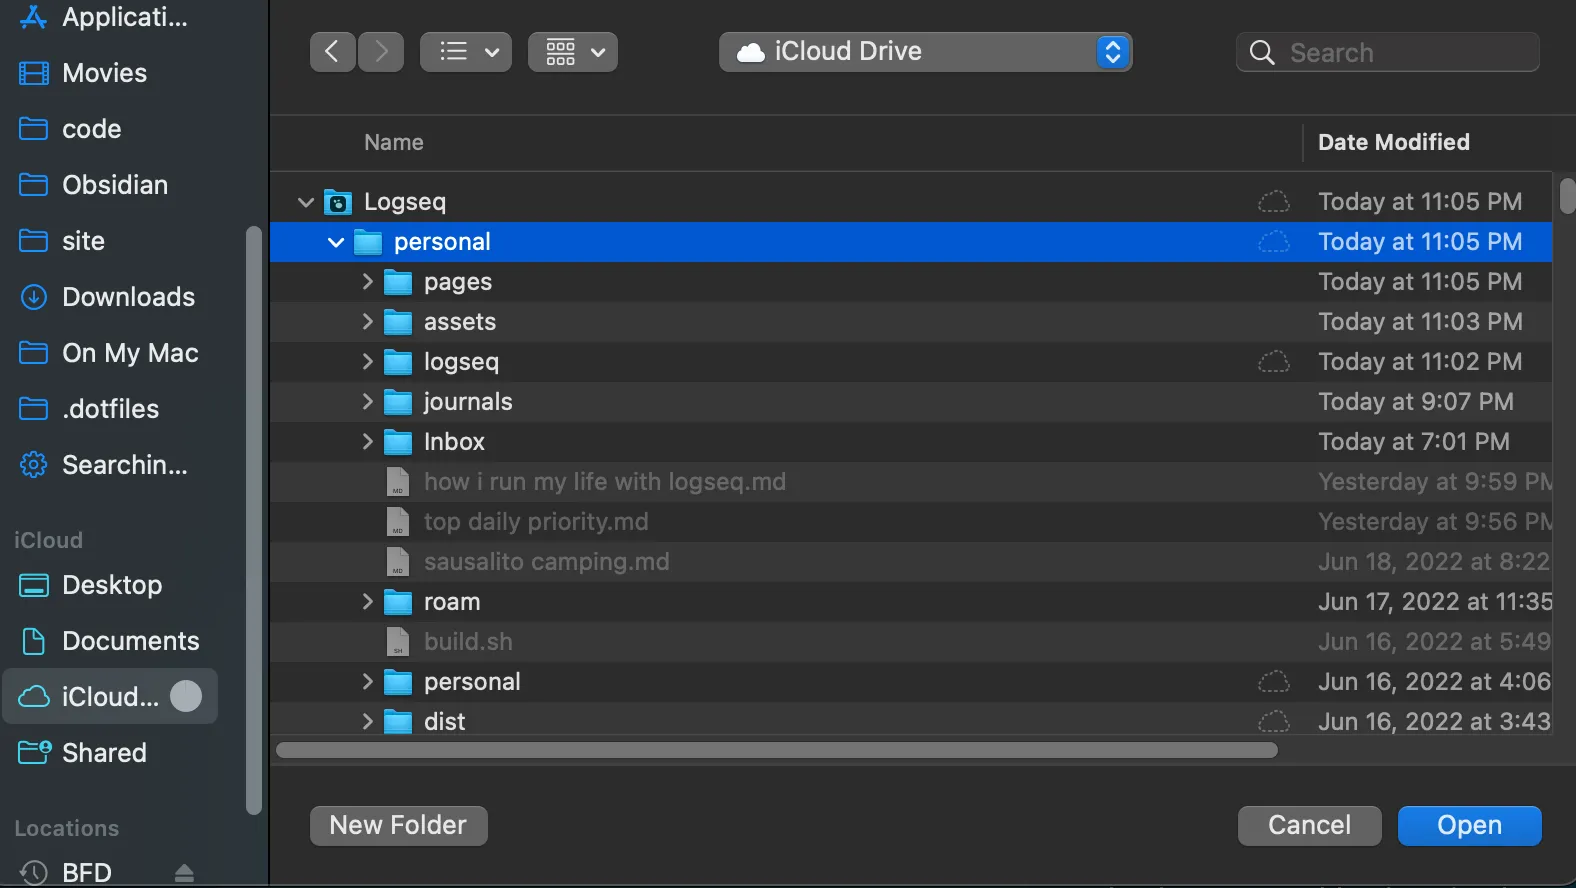
Create a folder called Logseq in iCloud Drive, then make a subfolder for your graph (something like notes). Using iCloud Drive means your notes will sync to the mobile app.
Start writing in daily notes
You’ll see an empty page with today’s date. This is your “daily notes” page. It’s usually my starting place for ideas. I type some thoughts and create [[backlinks]] for important concepts so I can find my notes later when writing or researching.
Spend some time experimenting: write some notes, make backlinks, click the backlinks to see how pages connect.
Make your public homepage
Now let’s create a home for you on the internet.
Create a homepage by typing [[homepage]] then clicking on it. This creates the page and navigates you to it.
Write some text about yourself and your interests.
Make it public by clicking the three dots in the upper right corner and selecting “Make it public for publishing.”
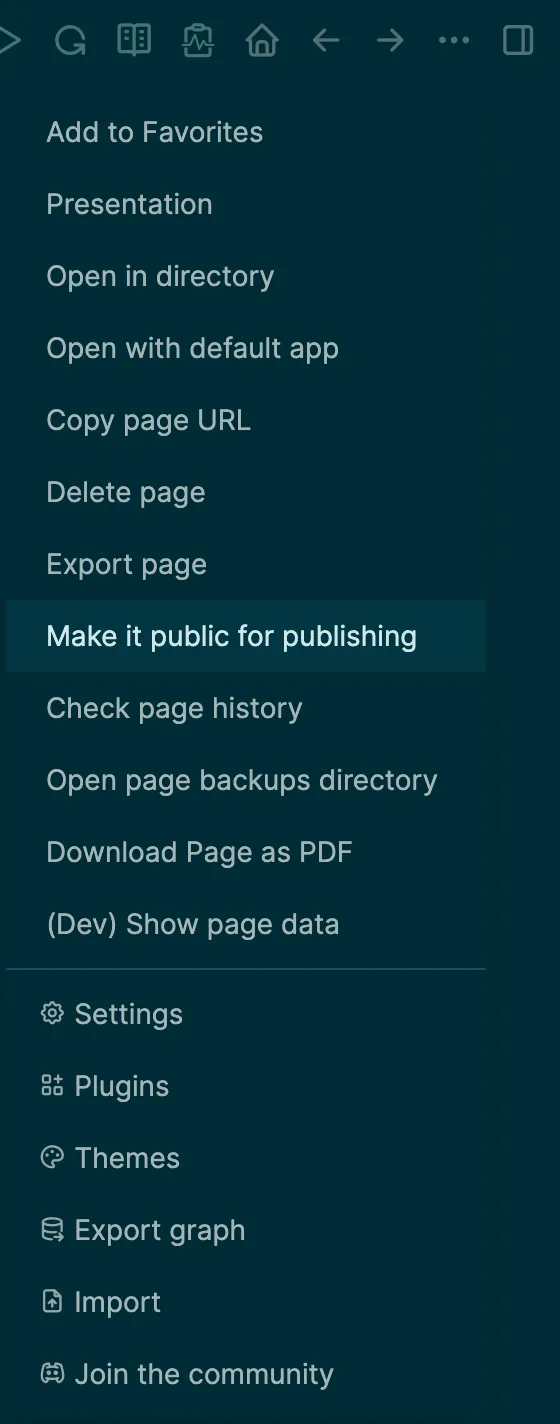
Only the pages you mark as public will be published. You can keep most of your graph private with just a few pages visible to the world. Remember to select this option on each page you want to publish.
Export your public graph
Set your homepage
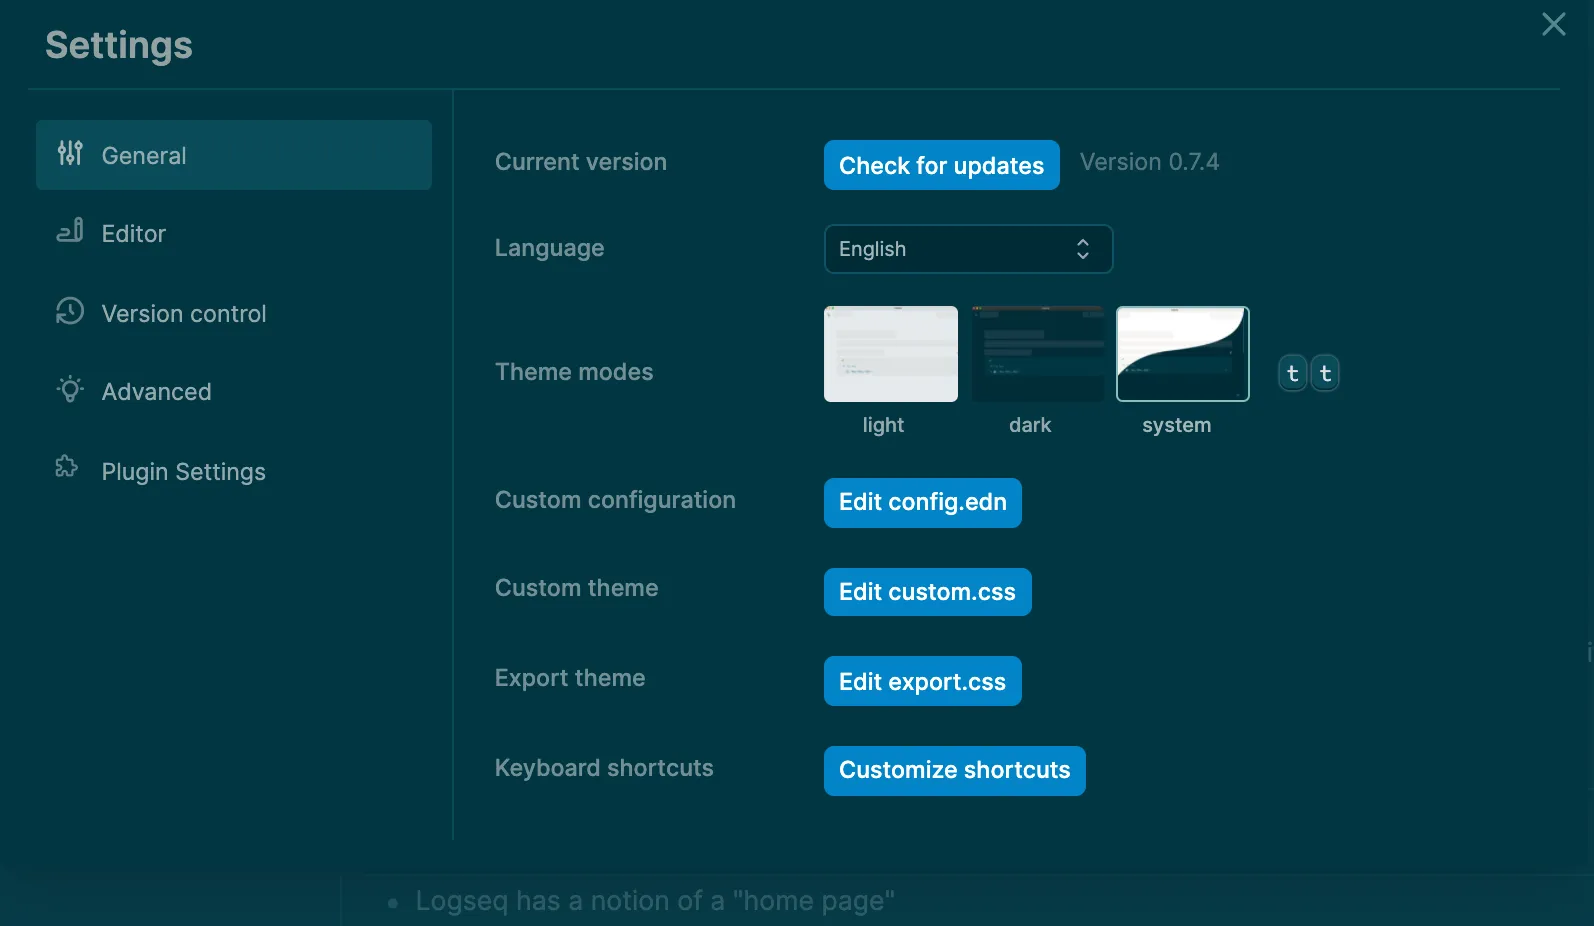
Logseq has a concept of a “home page” that loads when you open the app.
For private notetaking, I like my daily notes as the default. For my published site, I want the dedicated homepage we just created.
To change this, we need to update the :default-home setting before exporting.
Click the three dots in the upper right corner, then select Settings. Choose “Edit config.edn.”
Add a line to set your homepage:
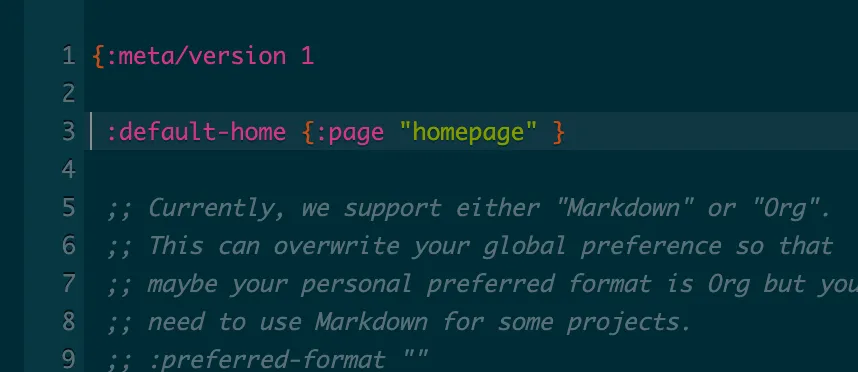
This is a bit inconvenient to do each time you publish, but the overall experience is pretty good. I expect these publishing features will improve over time.
When you’re ready to publish, click the three dots in the upper right corner, select “Export graph,” then “Export public pages.”
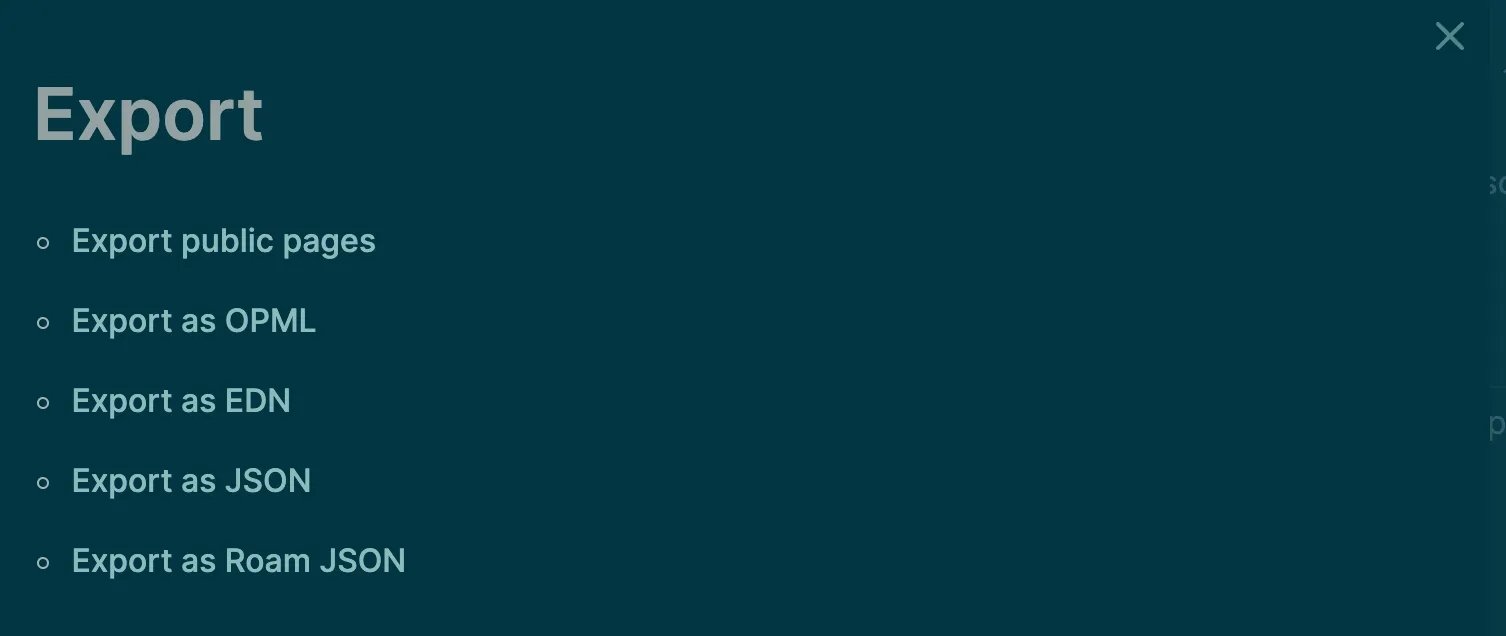
Pick a memorable folder for the output.
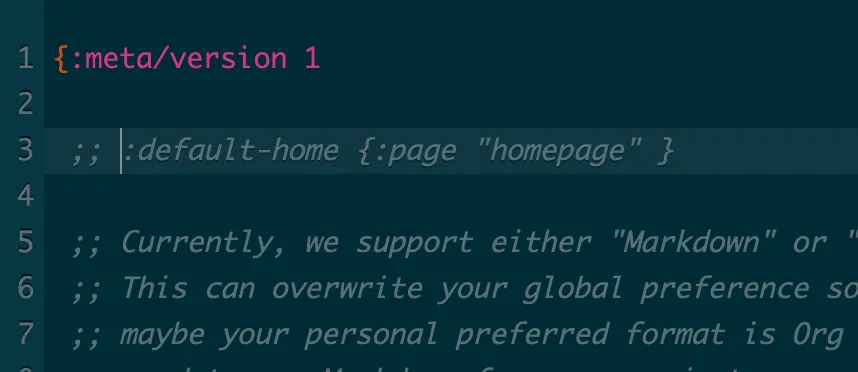
After exporting, comment out the default-home line with two semicolons ;; so your private journal goes back to using daily notes as the default page.
Publish your public graph online
There are many good options, but I recommend Netlify because it’s free and simple. You can always switch later.
After signing in, go to Netlify Drop.
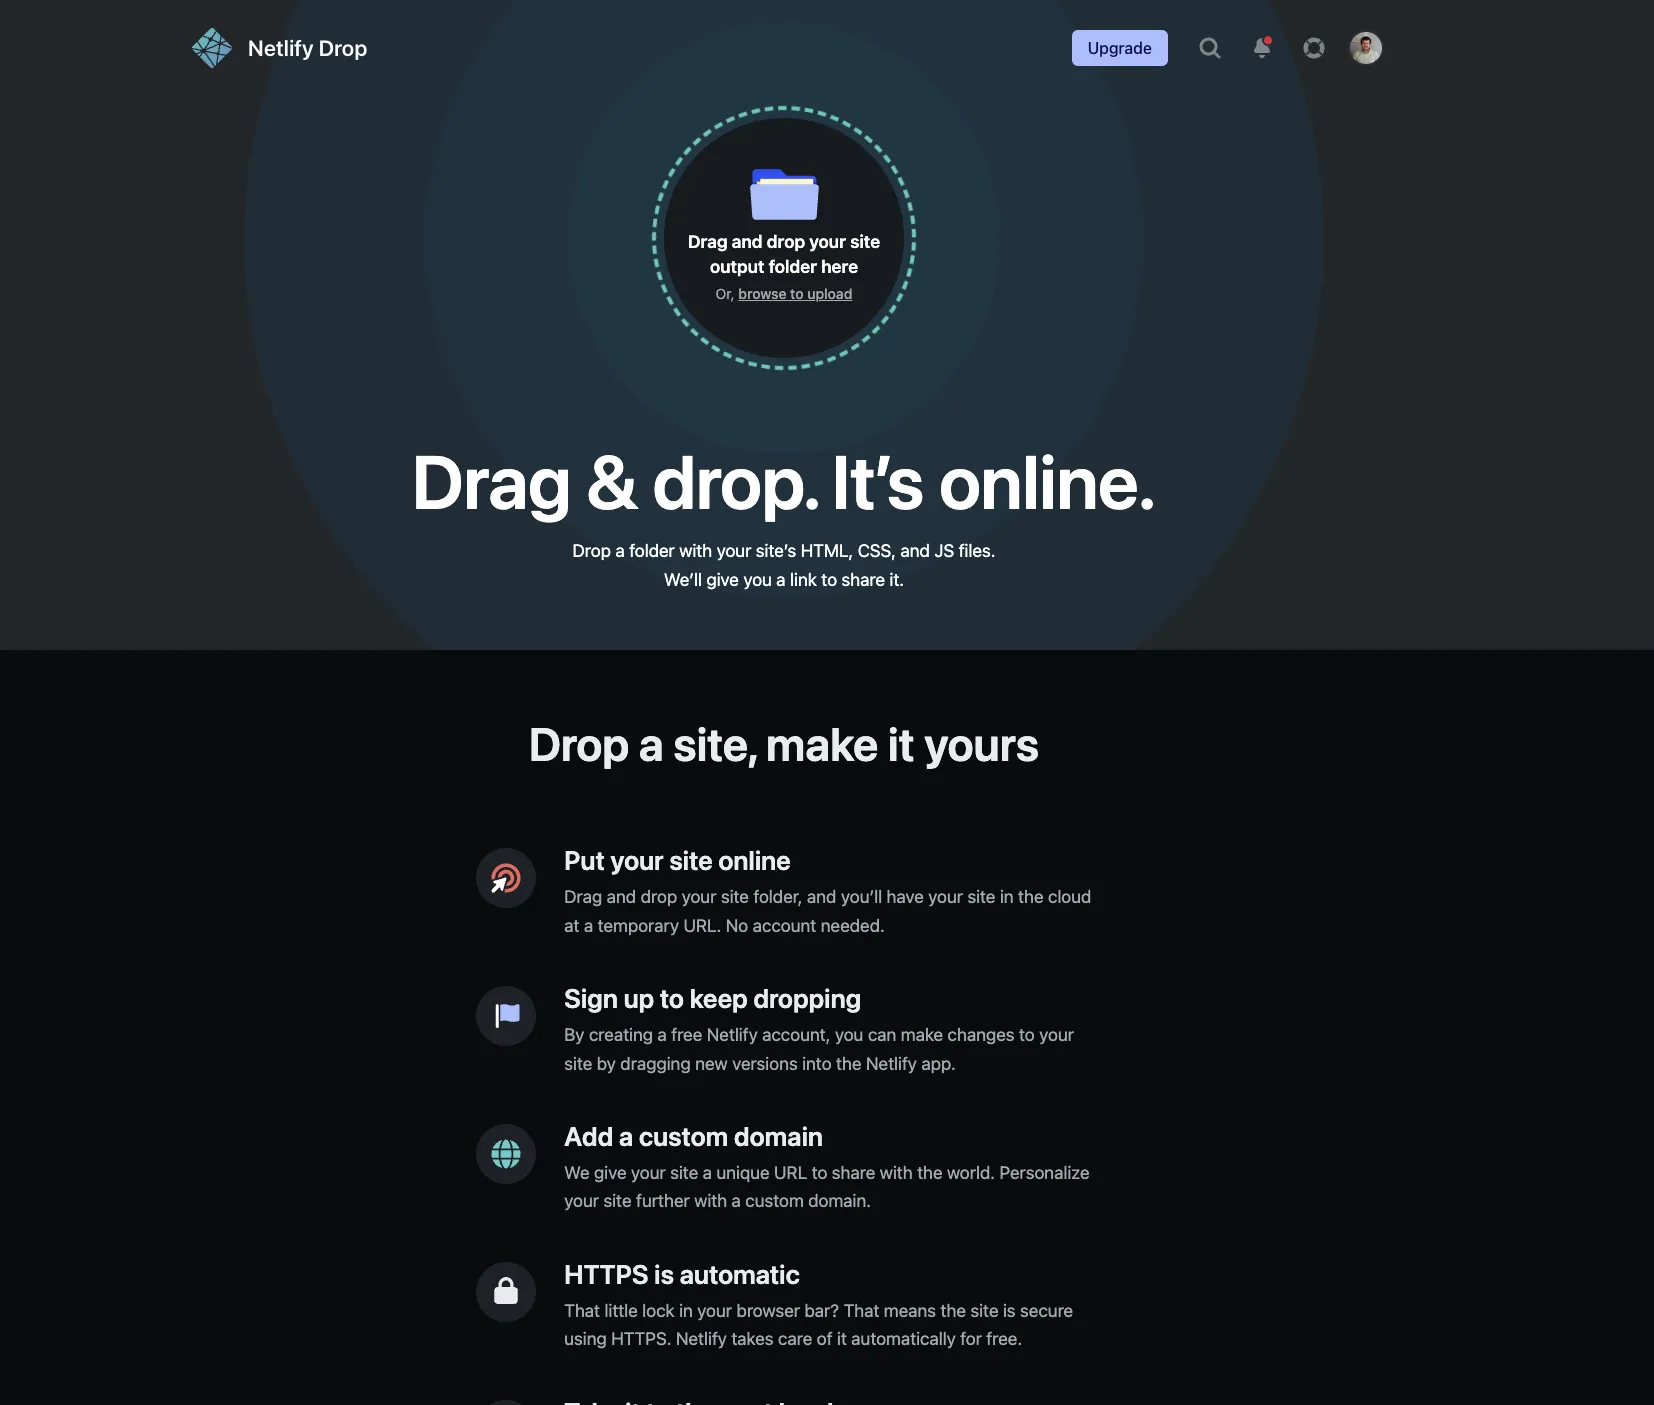
Click the folder icon and select the folder where you exported your public graph.
In a few minutes you should be online!
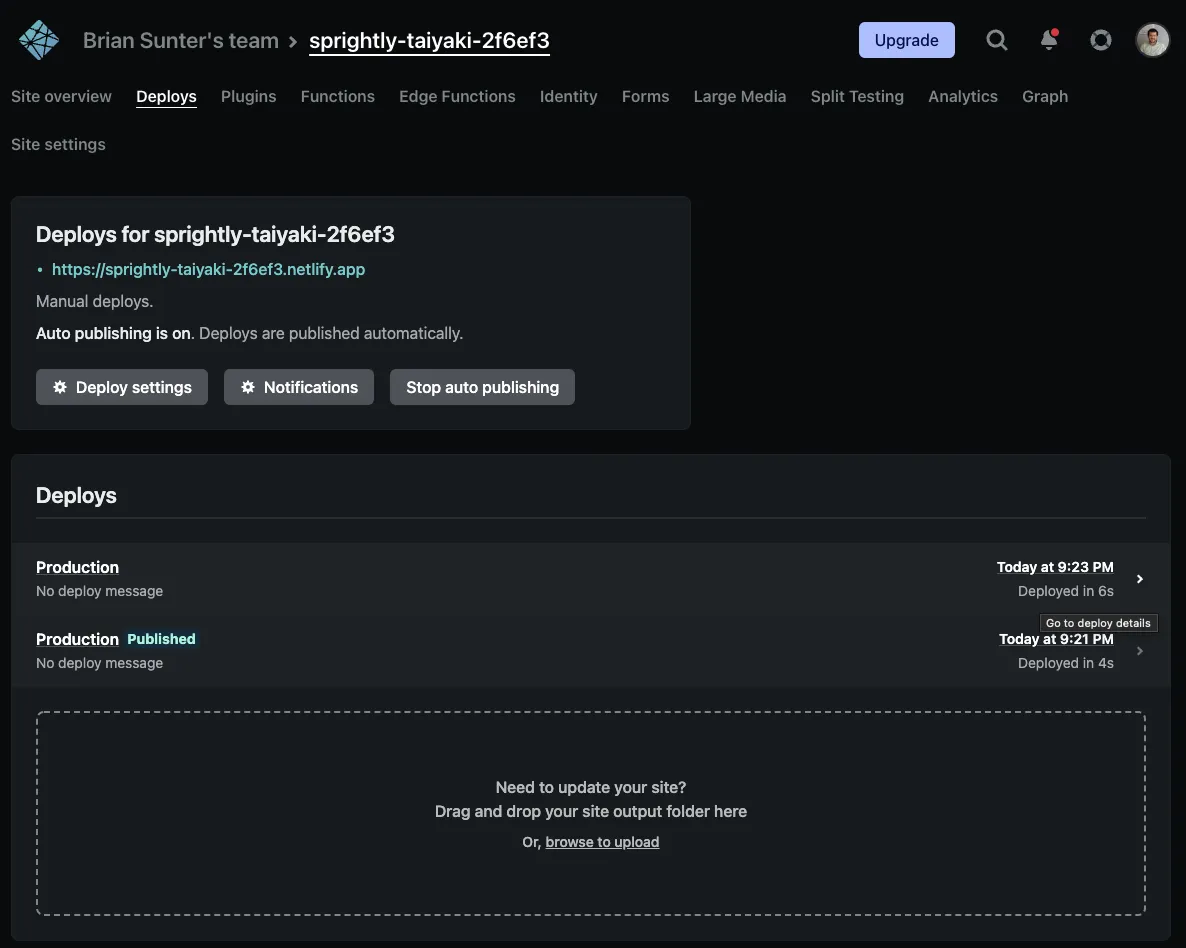
To update your site later, export your public graph again, then click the “Deploys” tab and upload the new version.
Next steps
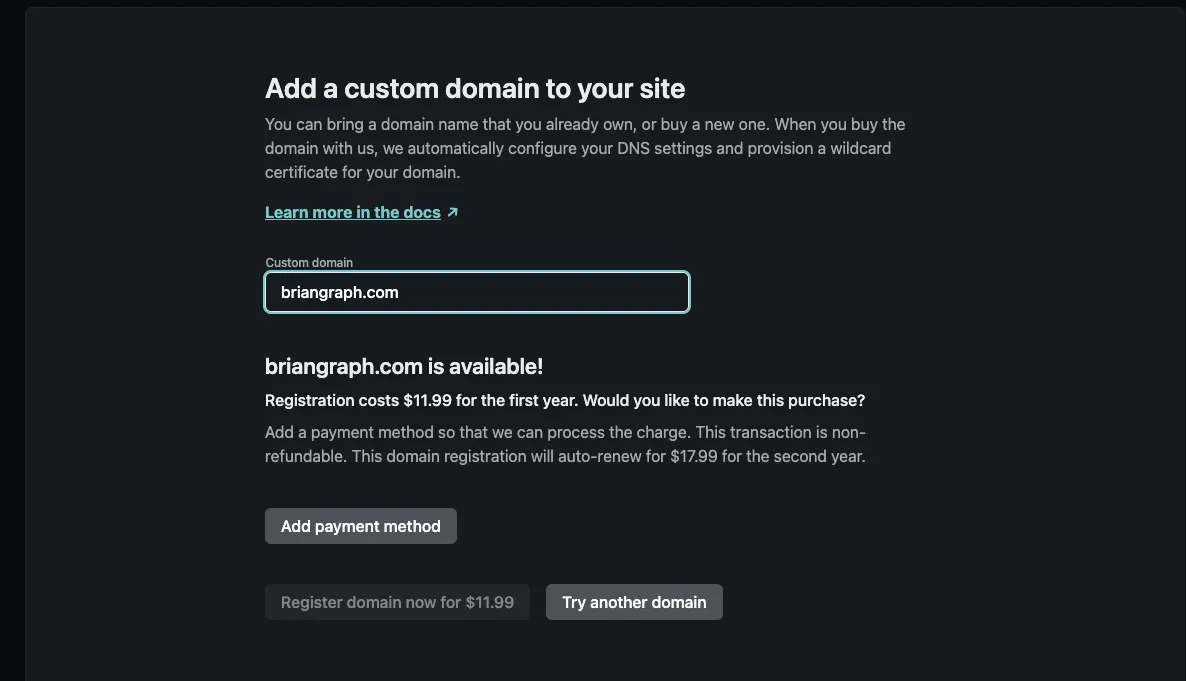
Set up a custom domain
I strongly recommend getting a custom domain like yourname.com.
You want the links you share to work forever. If you own your domain, you can switch away from Netlify later. If all your links have netlify.app in the URL, you’re stuck.
The easiest approach is buying through Netlify. They set everything up so the domain points to your site automatically. It costs about $12/year. You can transfer the domain elsewhere later, or connect a domain you already own.

Conclusion
There are many ways to host your public graph, but uploading to Netlify Drop is the easiest for non-technical users.
Don’t get paralyzed by options. Get your site up now on Netlify, then figure out the perfect solution later. You can always migrate providers if you own the domain.
Let me know on Twitter if you found this guide useful, especially if you set up your own public graph!

